Good morning!
Let's try something new. Yesterday I said that I would show you a card that I made with my Cricut, so let's give it a try. (I hope that I can figure this all out. Keep your fingers crossed!)
Yeah! It worked! (And it was surprisingly easy....) Anyway...
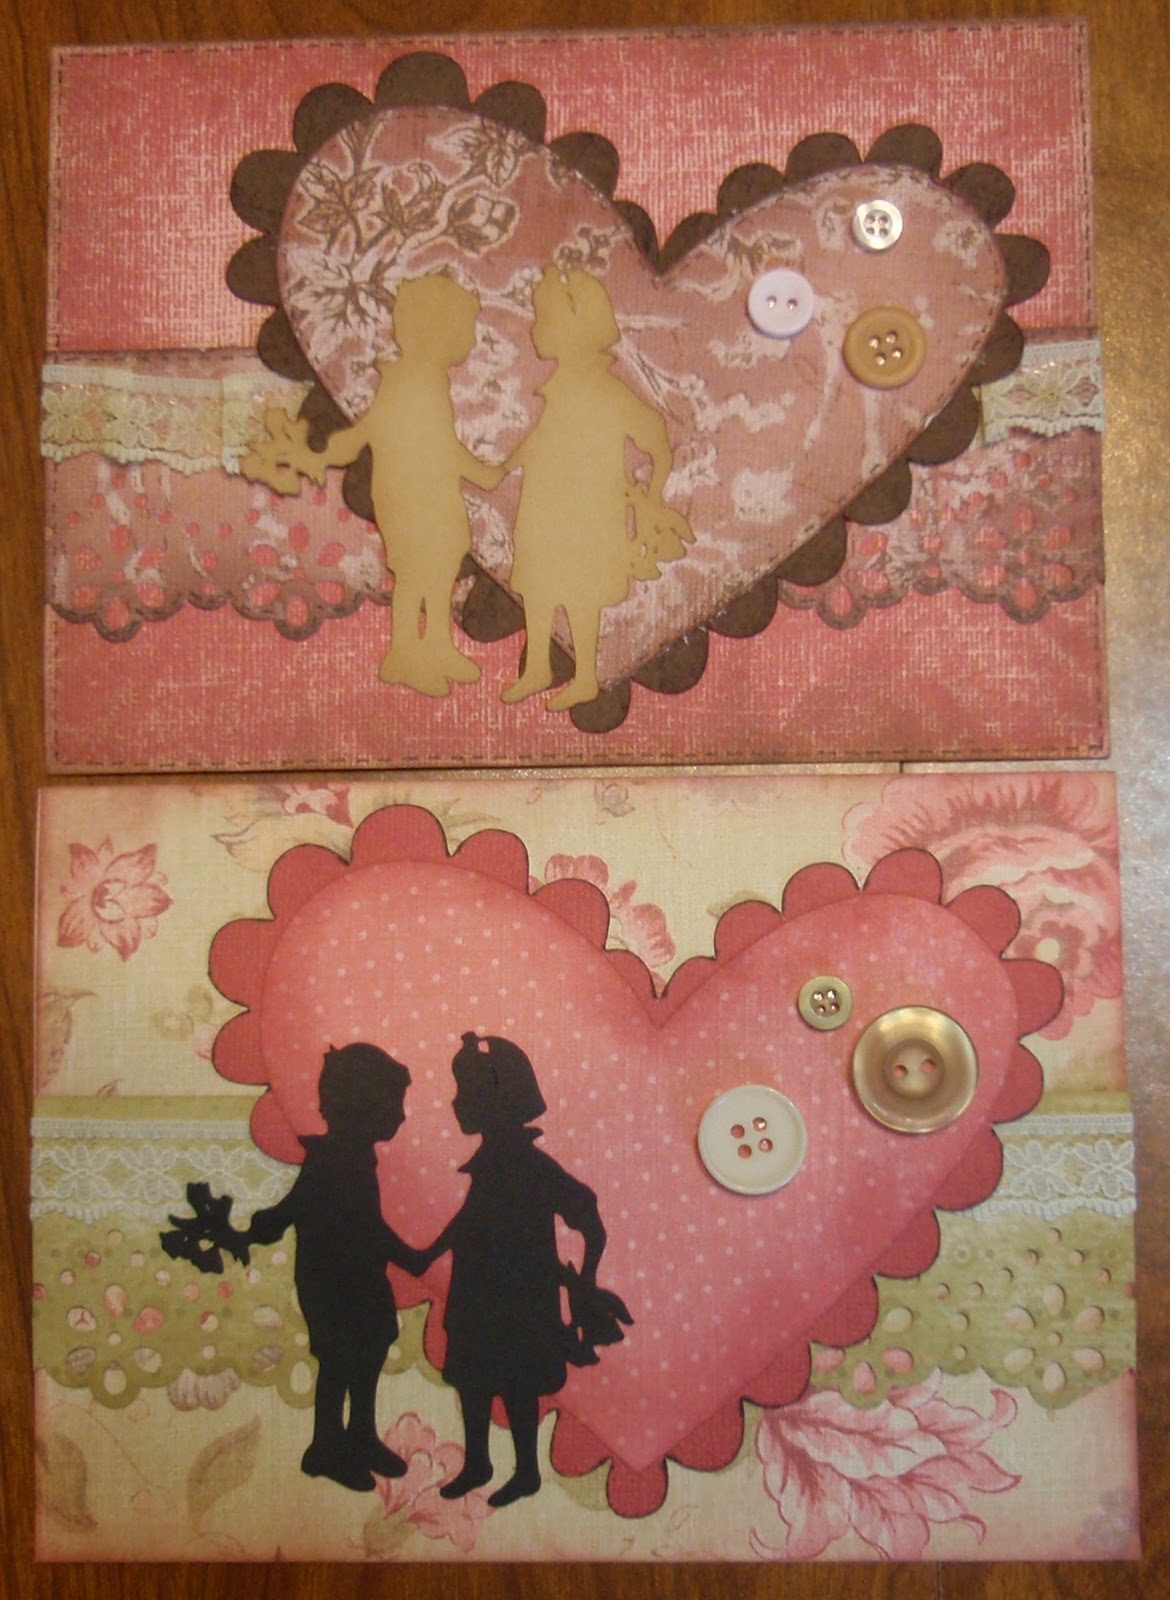
This is a card that I made yesterday using the two cartridges A Childs Year (or ACY) and Doodlcharms (DC). The images on ACY are very realistic and detailed, so make sure you have a good blade and mat for your Cricut. I used my Cricut Expression and my Gypsy to make these cuts, but they are small enough that you could also make them with a smaller Cricut and the cartridges. Now for the details.
I cut the image of the boy and girl from ACY at 3" in black. The scalloped heart and smooth edged heart are both cut from DC at 4.5". I choose very similar colors for both heart pieces, but you can use contrasting colors if you wish for more definition.
Using my paper trimmer I cut my background paper at 5" x7". Next I used a Martha Stewart deep border punch to put a pretty edge on one strip of printed paper for the front of the card, and one to decorate the inside. I used the same punch for both strips, and trimmed them to the proper width afterwards. The strip on the front of the card is 2" x 7" and the one inside is 1.5" x 7".
The next step is inking the edges.
You can see in this picture how the inked left side of the heart looks so much more finished than the plain right side. It's the little details that really make the difference! The inside heart piece and the background paper are inked with rose, the strip across the front is done with Chamomile ink from Paper Trey Ink, and I used the side of my black Copic marker brush tip to put a thin black edge around the scalloped heart.
Now for assembly:
1. Attach a narrow strip of lace across the front border punched piece. I used my ATG 740 and just ran a strip of adhesive across the entire piece of lace. Make sure you cut the lace long enough to tuck the ends behind the paper.
2. Adhere the strip with the lace to the background paper, not quite halfway up.
3. Place the smooth edged heart onto the scalloped heart, and attach this over the lace, just slightly to the right of center.
4. Affix the children image to the left side of the heart. For this I used my ATG in the larger areas, and a Zig Glue Pen in the smaller spots. Be sure to glue this piece down well so that it doesn't catch when the card is placed in the envelope.
5. Complete the card front by attaching three buttons to the right side of the heart with Glue Dots, and adhering the entire piece to a 5" x 7" card base.
6. Finish the card by applying the remaining punched strip to the top edge of the card inside.
That's it, you're done! Thanks for stopping by. Check back tomorrow to how to change up your cards just by changing your papers. Happy Crafting!